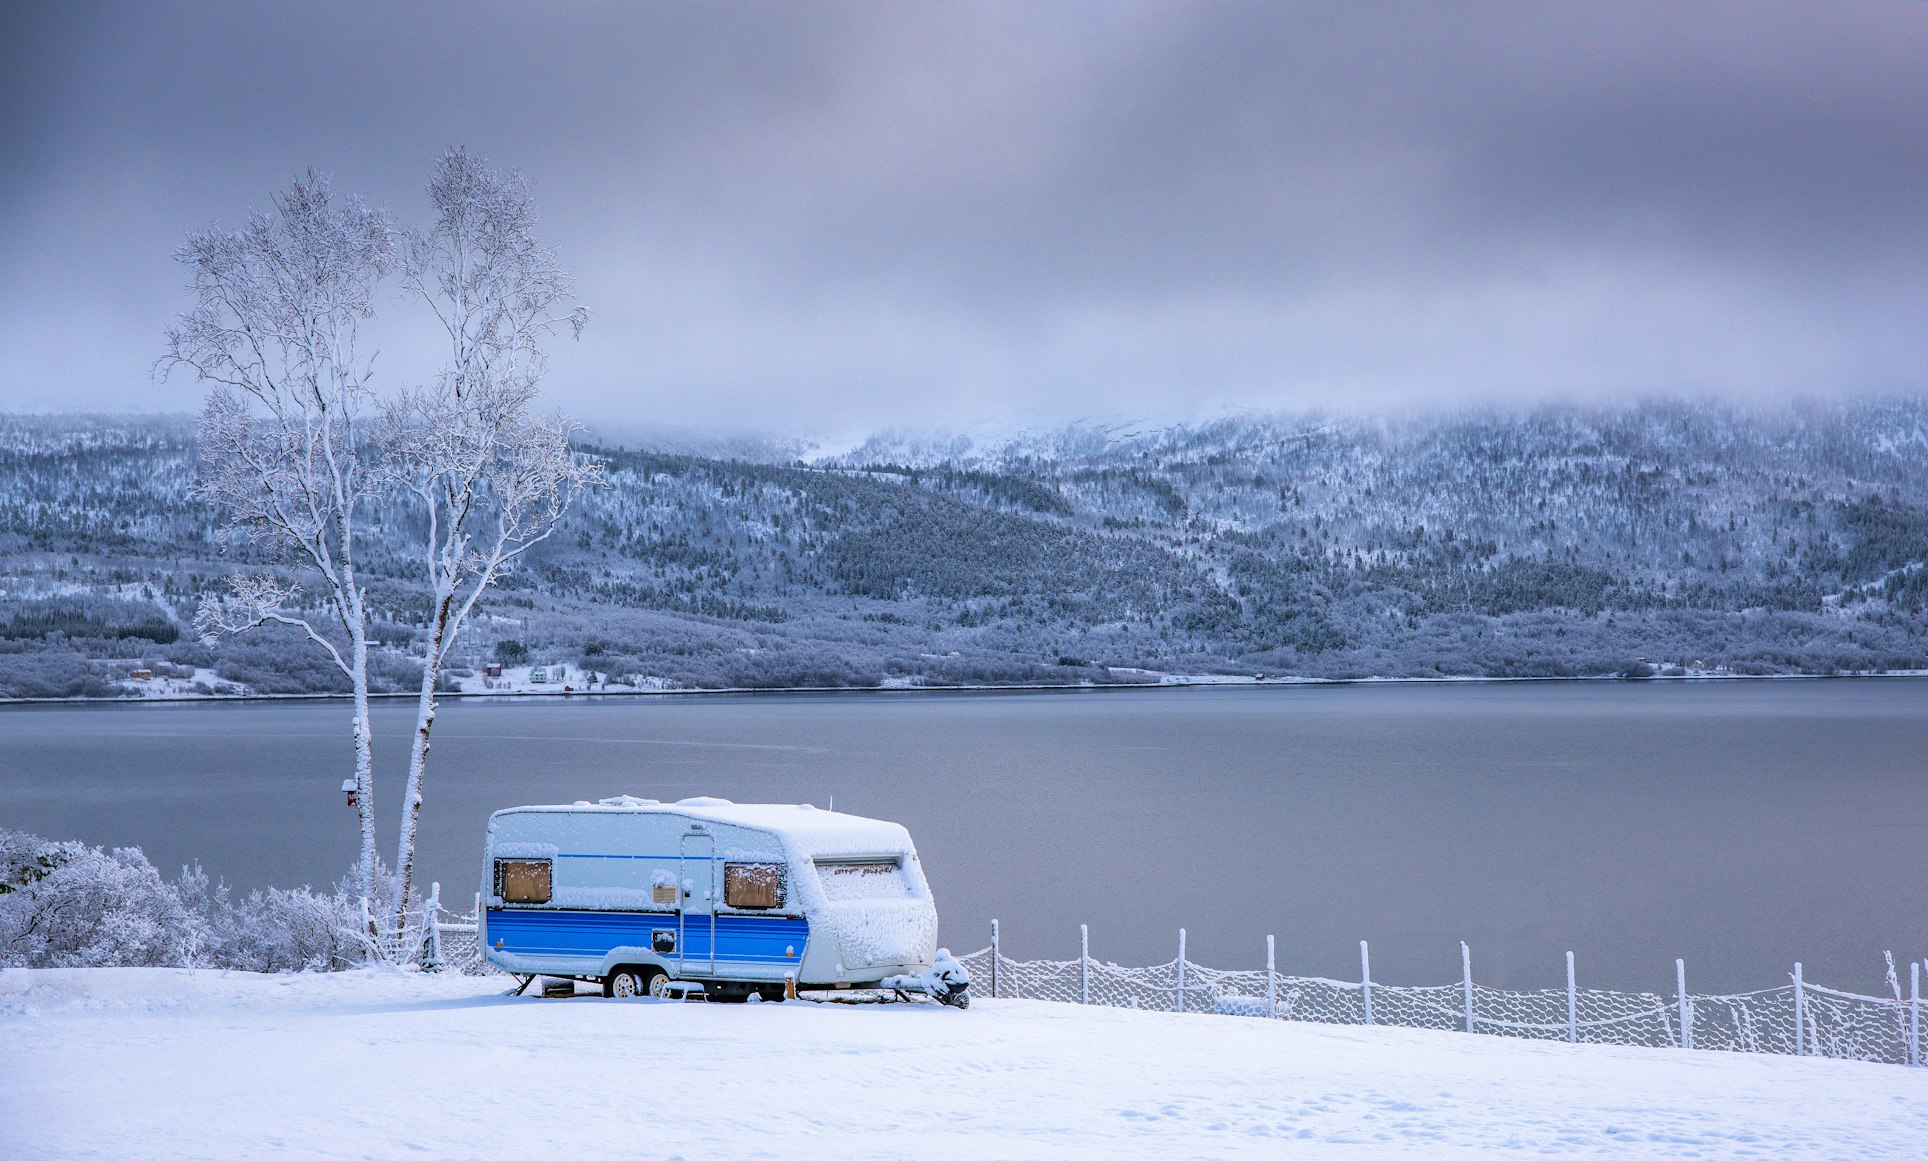
When the cold winter approaches, most camping enthusiasts bid farewell to another great season of exploring the wilderness while looking forward to the next one. However, storing your travel trailer during the winter months isn’t just a matter of parking it somewhere and leaving it there until next spring. RVs have water in their supply and drain lines, and water increases its volume when frozen. This may cause your pipelines to burst, and you certainly don’t want to start the RV season by spending time and money to fix yours.
This guide can help you prepare your RV for the winter. By following these steps, you can pick up where you left off when the spring comes, and get back on the road in your RV in no time.

Steps to Winterize an RV
When the time comes to prepare your travel trailer for the winter, you can either do it yourself or leave it to a professional RV repair shop. If you choose the former, these are the steps you can take to make sure your trailer will be fine the following spring:
1. Gather the Necessary Supplies
As with many DIY tasks, the first step is to get the materials you need for the job. Since winterizing a travel trailer essentially means replacing all water in its pipes with antifreeze, you’ll need a few gallons of RV-specific antifreeze. The exact amount differs depending on your exact make and model, but a few gallons should be enough. You also need a water heater bypass kit and a water pump converter kit, which allow you to drain your RV’s water heater. You should check first, as you may already have them installed.
While these are the bare necessities, you also need some extra gear to help you when winterizing an RV travel trailer. This includes the tools you need to remove your trailer’s drain plugs, a bucket to help you avoid spilling water, and a cleaning wand.
2. Remove Your Travel Trailer’s Water Filters
Your RV’s water filters play an important role, but you can’t leave them on during wintertime as the antifreeze may damage them. They’re placed in different locations depending on your RV’s make and model, so you’ll need to go through your owner’s manual to find their exact location. Some common locations include rear storage areas, under the kitchen sink, and in one of the kitchen cabinets. Removing the water filters is also a great opportunity to see if they may need replacing.
3. Drain the Existing Water Out of the Tanks
Now that you have everything you need and removed the filters, it’s time to get down to business. You can start your travel trailer winterizing by removing water from your freshwater holding tank. Find the valve, open it, and let the water drain. Next, you’ll have to drain the black and grey water tanks that hold the waste from your RV’s bathroom and kitchen. While the freshwater filter could be drained almost anywhere, these two require a trip to a dumping facility, as you can’t simply dump your waste anywhere. You’ll find their valves somewhere underneath the bathroom.
4. Drain the Water Heater and Water Lines
Before draining your water heater, it’s essential to ensure it’s not pressurized or hot. Turn your heater off, wait a while for the water to cool down, and then look for the valve that supplies it with water. Shut the water off and open the pressure relief valve. Place the bucket underneath the drain plug, unscrew it, and let the water drain into the bucket.
Once you’re done, you can look for all low-point drain plugs throughout your travel trailer’s water system and open them. Don’t forget to flush your toilet and drain your outdoor shower, if you have one. Any remaining water may freeze during wintertime and cause damage.
5. Bypass the Water Heater and Add Antifreeze
While you could simply fill your water heater with antifreeze, you’d be wasting many gallons and have to drain it again when the spring comes. It’s easier to bypass it, and that’s when the water heater bypass kit comes in handy. Once you’ve installed it, you’re ready to complete your travel trailer winterizing task by filling the system with antifreeze.
Use the water pump conversion kit you bought earlier. It comes with instructions showing you how to fill the system with antifreeze using your travel trailer’s water pump. You can then check to see if you have enough antifreeze in the system by slowly turning on your hot and cold faucets. Antifreeze is colored, so when you see it coming out, you can turn the faucets off. Also, flush the toilet until you see antifreeze in the bowl. You can now turn the water pump off and check that all faucets are off.
Additional Ways to Winterize Your RV
Although making sure your pipes won’t burst is the first step toward having a winterized travel trailer, there are other things you can do to keep yours in great shape in the cold season. Some additional steps you can take are:
- Remove the battery. Car batteries are usually affected if left unused for months in cold weather. Take yours out and store it in a warm place.
- Don’t leave any leftover food. Make sure to vacuum all your food storage areas. Even some leftover breadcrumbs may attract mice.
- Keep your travel trailer stabilized. Place wheel chocks to ensure your trailer will stay in the same position during the winter months.
Speak With Our Team of Grand Design Service Experts if You Have Any Further Questions
Here at Bretz RV & Marine, we’re dedicated to making sure all our customers get the most out of their Grand Design travel trailer. If you have any questions about how to winterize a travel trailer or any other RV-related query, we’re here to help you. Contact us today or come over to any of our locations.
